Considering dental veneers to hide various imperfections? This unique cosmetic treatment option is popular among Hollywood’s elite as well as those who are busy working professionals and even stay-at-home parents. Adults living with chips, stains, minor gaps, misshapen teeth, misalignments, cracks, and discoloration can easily transform their appearance with the help of these customizable restorations, but do you know what you can expect when preparing to receive them? Before you commit to moving forward, here is a step-by-step breakdown of the veneer process in Carrollton.
Step 1: Your Initial Consultation
You will need to schedule a consultation with your cosmetic dentist to discuss your smile goals. During this visit, they will examine your teeth and make notes about which areas need coverage. Depending on the severity of your imperfections as well as your oral and overall health, you may be eligible for treatment. It’s important you don’t have signs of gum disease or tooth decay, as these can be problematic when living with veneers. If your dentist does discover issues during this initial visit, you’ll need to undergo the proper treatment before moving forward with cosmetic care.
Step 2: Preparing Your Teeth
Once you are cleared for veneers, your cosmetic dentist in Carrollton will begin to prepare your teeth. This includes removing a small amount of tooth enamel. While it is best to leave as much tooth structure as possible, it is necessary to remove enough that the bonding agent used will properly adhere the veneers to your natural, healthy teeth. You should be aware that this part of the process is not reversible, which is why veneers are considered a permanent form of cosmetic dentistry.
Step 3: Lab Creation
Once your dentist prepares your teeth, they will capture impressions of your smile and send them off to a laboratory where technicians will begin to craft your customized veneers. Using the specifications provided by your dentist, they will create restorations that perfectly match the desired size, shape, and color. This ensures that your new teeth will look natural and feel comfortable when put into place. However, while your veneers are created, your dentist will place temporary ones over your teeth so you can begin to feel what it will be like to live with your new restorations. It can often take several weeks before your real veneers are finished and ready for placement.
Step 4: Final Placement of Veneers
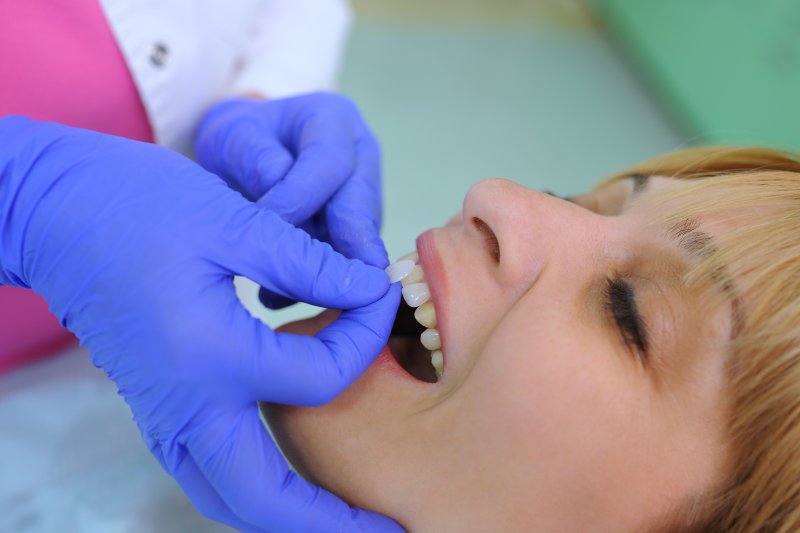
Once your veneers arrive at your dental office, you will return to have your temporaries removed and your finalized restorations cemented into place. Using a careful hand and artistic eye, your dentist will place each veneer into the appropriate spot, ensuring it aligns correctly and looks completely natural. Once all are in place, your teeth will receive a final polish.
On average, it should only take two dental appointments for you to receive your new veneers. While it does involve some minimal tooth removal and outside lab creation, your results will leave you feeling more confident about your appearance than ever before.
About the Author
Dr. Moji Chandy earned her Doctor of Dental Surgery degree from NYU College of Dentistry and has been practicing dentistry for more than 14 years. Opening Aegis Dental in 2012, she has extensive training in various areas of dentistry. If a patient wants to transform their smile using veneers, she and her team will ensure the final results look and feel completely natural, offering individuals the opportunity to feel more confident in their appearance. Visit our website or call (972) 492-6700 to learn how we can help you achieve that dream Hollywood look!

